
Pressing guide
Identify the finished seam shape, then follow its pressing path.
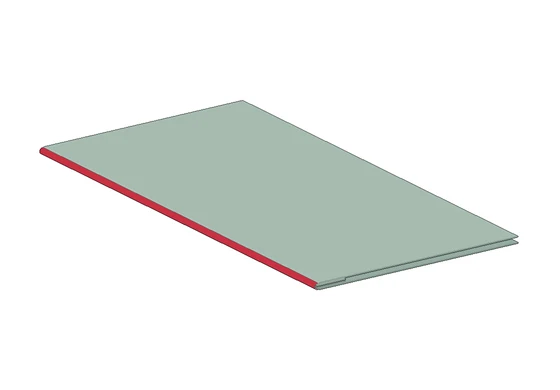 Straight edgeFlat, knife-like edge
Before pressing
Test heat and steam on a scrap from your kit. Check the print and fabric before pressing your pieces. Use a pressing cloth if needed.
For a newly machine-stitched seam, set the stitches before turning or shaping. Skip this for an opening being ladder stitched.
Straight edge
The seam is still tucked inward. Ease it fully out before creasing.
Press the blunt edge against the seam from inside. Work a short section at a time.
Press the eased-out edge down with your fingertips. Keep it in place as you remove the knife.
Keep holding the edge. Lay the blunt blade on the outside and slide it back and forth to set the fold.
Turn the piece over to work the other face.
Hold the edge extended again. Slide the blade back and forth on this side too.
The seam is fully out, smooth and flat. Continue along the rest of the edge.
Let the shape set
Check both faces. The seam should sit on the edge, fully extended. Let it cool flat.
Tips
1Test your fabric
Test heat and steam on a scrap. Use a pressing cloth if needed. The ham, roll and clapper are optional tools, available separately.